We love Shopify: it’s a versatile ecommerce platform that enables users to build impressive online stores with its point and click interface. However, sooner or later, you may realize that you need finer control and some customization. These changes could be some visual enhancements to your store or some functional elements to add new features. This is where most merchants get stuck: when they open the liquid theme files, they feel overwhelmed and decide not to touch anything for the fear of breaking their store. Have no fear! Pumfind is here to help. Let’s take a look at some examples together.
How to experiment safely in the Shopify environment
Before you make any changes to your store, let’s make sure that you can try any change you would like to test without worrying about the stability of your store. The best practice for this is to “backup early and backup often”.
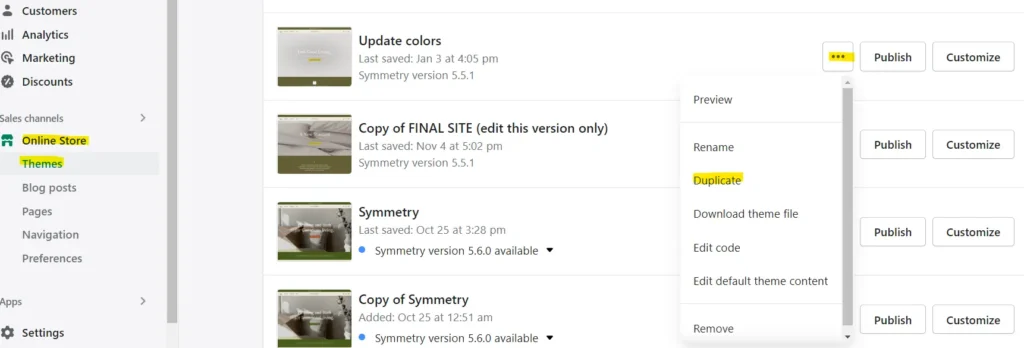
Shopify doesn’t include a default feature to roll back the changes made to a template in the dashboard panel. Therefore, we recommend creating a copy of the current version every time before making any changes. You can easily do that by going to “Online Store”->”Themes”->click “…” beside the theme that you want to copy, then choose “Duplicate”.
Don’t forget to rename the new copy with the changes you are going to make. For example, “update theme color”, “add new product”, etc. Once you finish editing the template or the code, you can preview the changes then publish the new copy, the updates will be immediately shown in your store.
Two other best practices to give you peace of mind:
- Test incrementally: make sure that you test your changes in a systematic way. Quickly test your changes before you finalize them.
- Document all the changes you have made in a store configuration document. You may quickly forget how or why you made some changes. This document can help you review or reuse some settings or code snippets months or years later.
How to quickly create scrolling text in your Shopify store
It is very simple to add a scrolling heading or banner by using the html element <marquee>, which is used to insert a piece of scrolling text. For example, if you want the text scroll from right to left, the html code would be: <marquee width=\”100%\” direction=\”left\”> TEXT </marquee>
In Shopify, this scrolling effect is commonly used to create a promo banner or a shipping bar on top of the website store page (e.g., “Free shipping on all orders over $50!”). Whenever we want a certain text to have a scrolling effect, we just need to add the code above to the corresponding liquid file.
Suppose we want to make the announcement bar on top scrolling from right to left, we start with finding the liquid file we need.
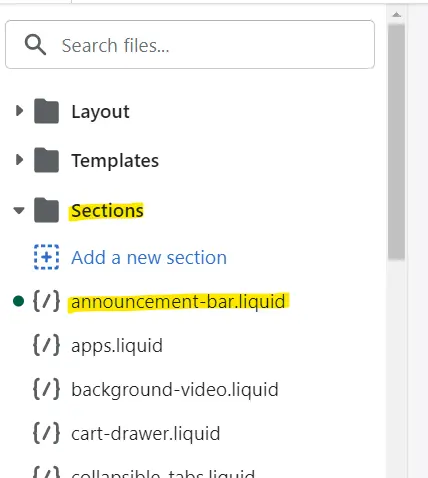
First we access the code: go to the Shopify dashboard -> online store -> click “…” of the current template -> edit code. Since we want to change the announcement bar section, we go to “announcement-bar.liquid” under “Sections” file.
Next, we find the code that contains announcement text.
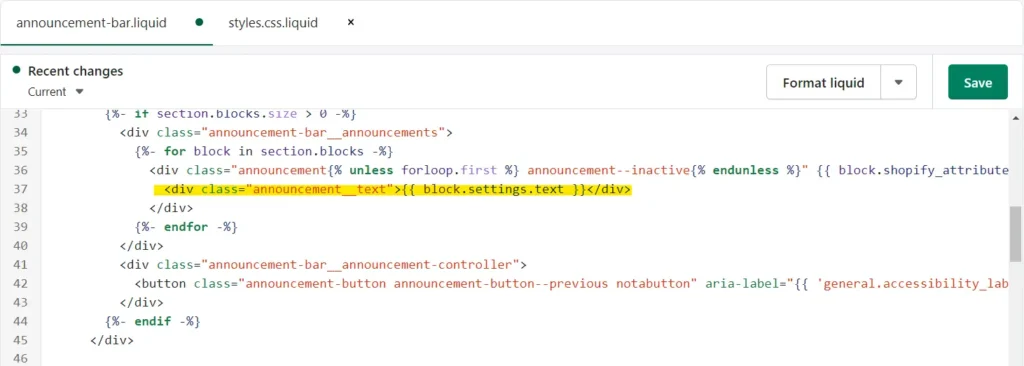
In this example, line 37 contains the code for announcement input text. We can replace this line with:<marquee width=”100%” direction=”left”>{{ block.settings.text }}</marquee>
Now whatever we put in the announcement bar will be scrolling as we wanted.
Experimentation is the key here. Don’t hesitate to try different settings, for example for the “direction” attribute, you can try using “right” instead of “left” and see if you prefer that version.
How to implement the typewriter effect to a heading in Shopify store
Themes compatible with Shopify 2.0 allow us to add html code directly in the theme customization page. Thanks to this feature, we can easily create headings with different animation effects. In this example, we’ll also show you how to edit a CSS file to achieve the perfect look and feel for your store.
Here is an example of adding a typewriter effect to the heading:
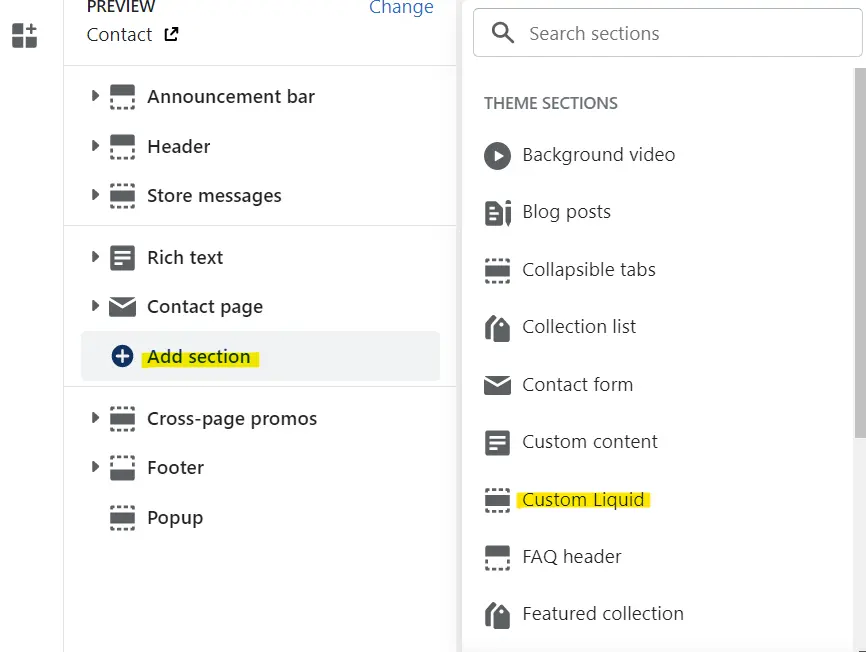
Click the “Customize” button of the theme you want to edit.
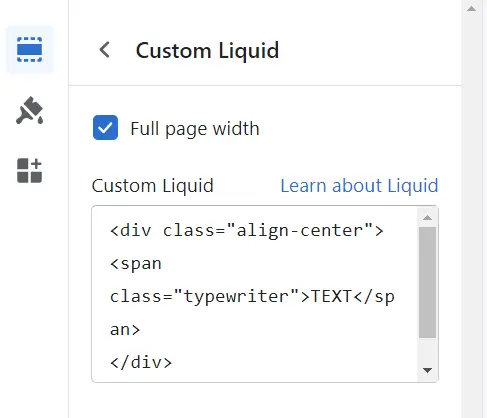
If you have ever edited store pages, you may see the “Add section” option before. Click it and select “Custom Liquid”.
Then copy and paste html code below to the custom liquid input box (Replace “TEXT” with your own heading):<div class=”align-center”> <span class=”typewriter”>TEXT</span> </div>
If your heading has multiple lines, then you can use the <br> element to separate them.
For example:<div class=”align-center”> <span class=”typewriter”>LINE1 <br> LINE2 </span> </div>
After creating the new section, you can drag and move it to the place you want.
You may notice there is an element class attribute called “typewriter”. The last step is adding the CSS code of that “typewriter” class.
Go to the Shopify dashboard -> online store -> click “…” beside the template -> edit code.
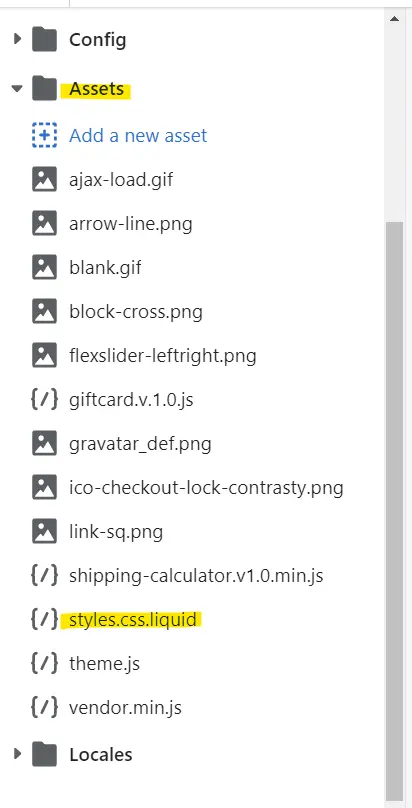
Under folder “Assets”, open the “styles.css.liquid” file and paste the code below.
.typewriter {
color:#0000;
background:
linear-gradient(-90deg,#deefec 5px,#0000 0) 10px 0,
linear-gradient(#444463 0 0) 0 0;
background-size:calc(var(–n)*1ch) 200%;
-webkit-background-clip:padding-box,text;
background-clip:padding-box,text;
background-repeat:no-repeat;
animation:
b .7s infinite steps(1),
t calc(var(–n)*.2s) steps(var(–n)) forwards;
}
@keyframes t{
from {background-size:0 200%}
}
@keyframes b{
50% {background-position:0 -100%,0 0}
}
The highlighted “#deefec” is the background color HEX number, and the “#444463” is the text color code. You can adjust them based on your needs.
Time to get creative!
When it comes to Shopify development, it’s perfectly normal to feel a bit confused at the beginning. We hope that the practical examples we gave above will be useful in your learning journey. Once you implement a couple changes you will feel a lot more confident in your abilities and you’ll feel more motivated to try new changes.
The team at Plumfind is here to help if you have any specific questions or requests. Feel free to get in touch with us. We’d love to hear from you.
About the author(s):
Jingfei is our software engineer. She can magically convert our craziest ideas into well-optimized chunks of code. Her unbounded energy and can-do attitude keep our technical teams running like a well-oiled machine. We suspect that the source of her energy is the classics: she loves opera, her favorite composer is Mozart and in another life, she could have easily been an archeologist. She lives in Montreal, Canada.
Leave a Reply